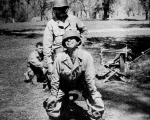
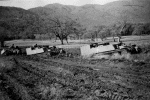
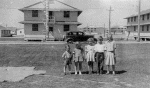
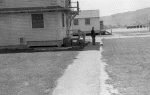
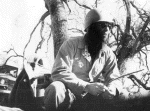
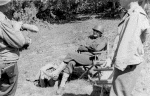
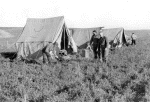
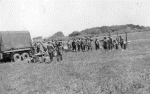
Photos from Lora McDonald (1/6)
Return to Home Page